The Tree of Slumber Abyss puzzle in Crimson Desert feels confusing the moment you step into the room. You interact with one point, and suddenly several pillars move at once. It can feel like you’re making mistakes because everything keeps shifting.
But when you slow down, the puzzle is actually very controlled. Once you understand how each interaction affects the pillars, the solution becomes predictable. Here’s a better way to solve the Tree of Slumber puzzle in Crimson Desert without resetting progress.
Tree of Slumber Abyss Puzzle Walkthrough and Solution in Crimson Desert
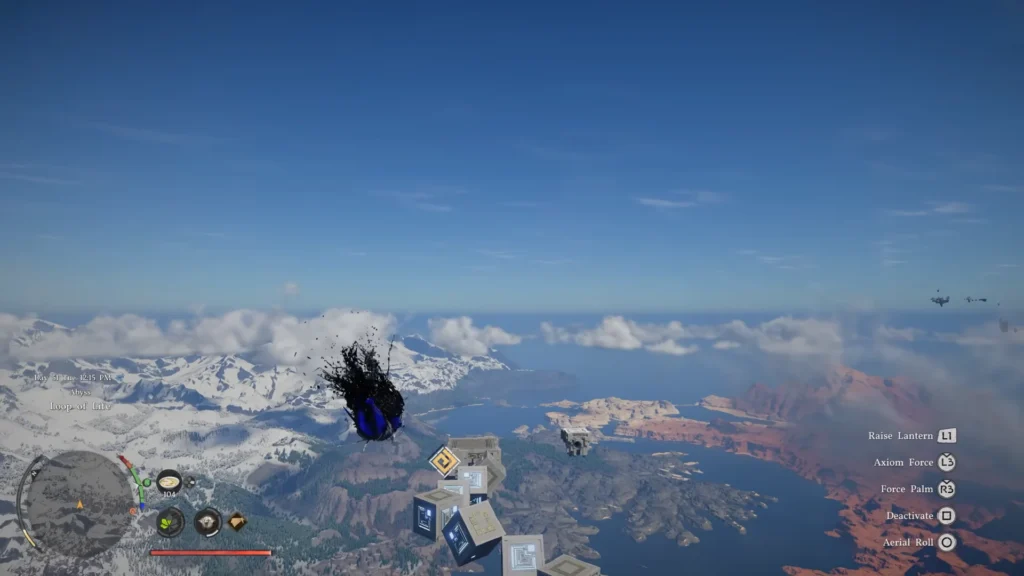
Image via Pearl Abyss and YouTube/@DanAllenGaming
To reach the puzzle, follow the Abyss path after Loop of Life. Pass through the triangular gate and use Axiom Force on the grey pillar to create the path ahead. From there, move across the glowing platforms and rotating sections. If a jump feels off, use Force Palm to boost and glide instead of trying to land perfectly.
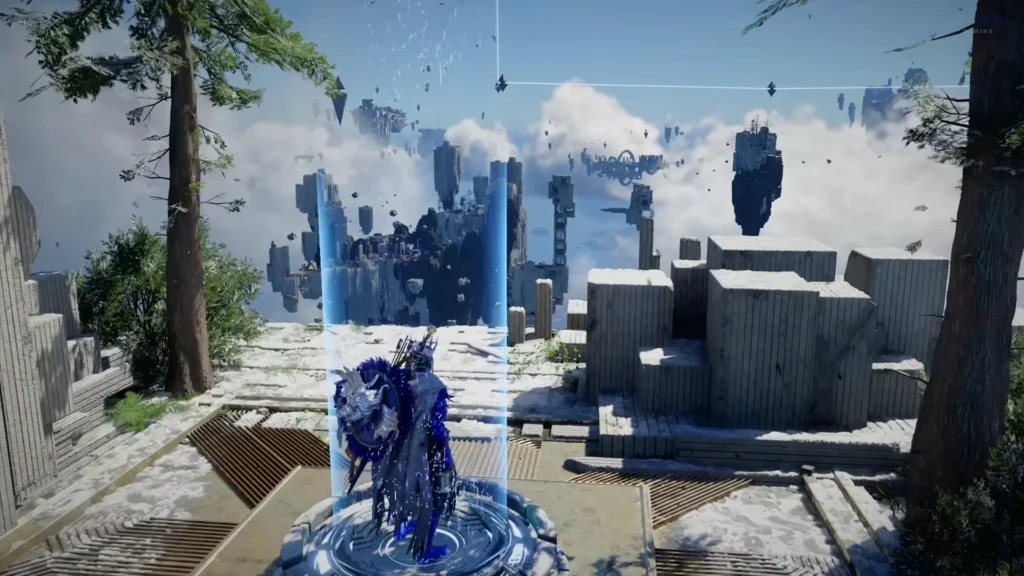
Image via Pearl Abyss and YouTube/@DanAllenGaming
Near the end of the route, don’t jump early here and wait for the moving platform. Ride it across, take the teleporter, and activate the Abyss Nexus as soon as you arrive.
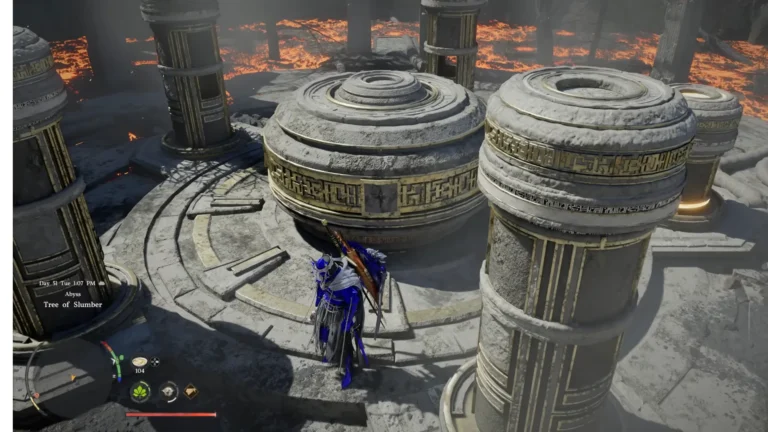
Inside the chamber, you will see a central mechanism surrounded by several pillars. One is already in the correct position, and that pillar is your reference point.
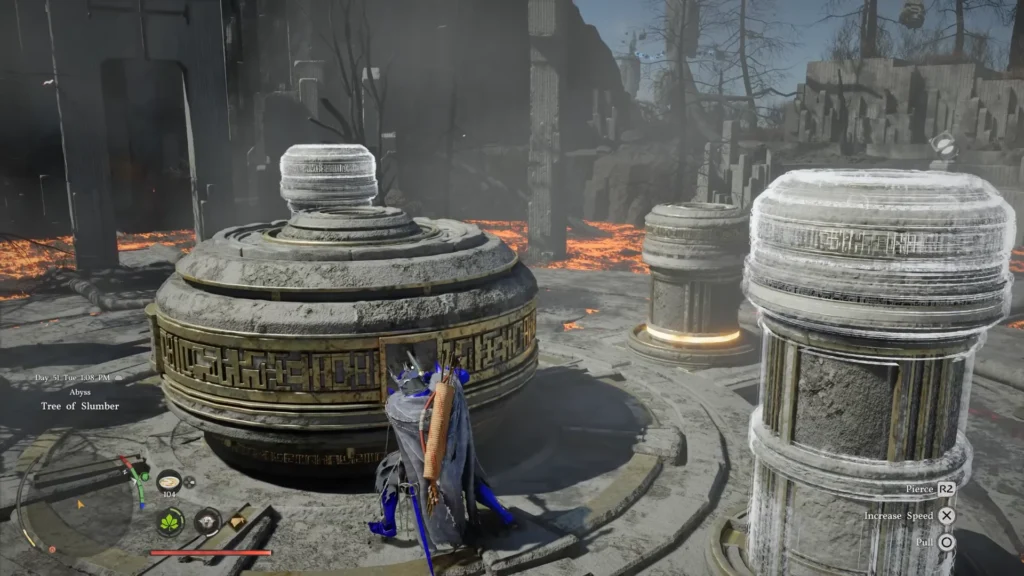
Image via Pearl Abyss and YouTube/@DanAllenGaming
Start working around the central mechanism. Each slot controls more than one pillar, so every adjustment affects the others. After each interaction, stop for a second and see what actually moves. If one pillar rises while another drops, switch to a different slot instead of repeating the same move.
As the pillars begin to line up, slow down. This is where most mistakes happen. One extra turn can undo your progress. When you are close, make smaller adjustments and let the system settle. You will notice the mechanism stops responding once the pillars reach the correct alignment.
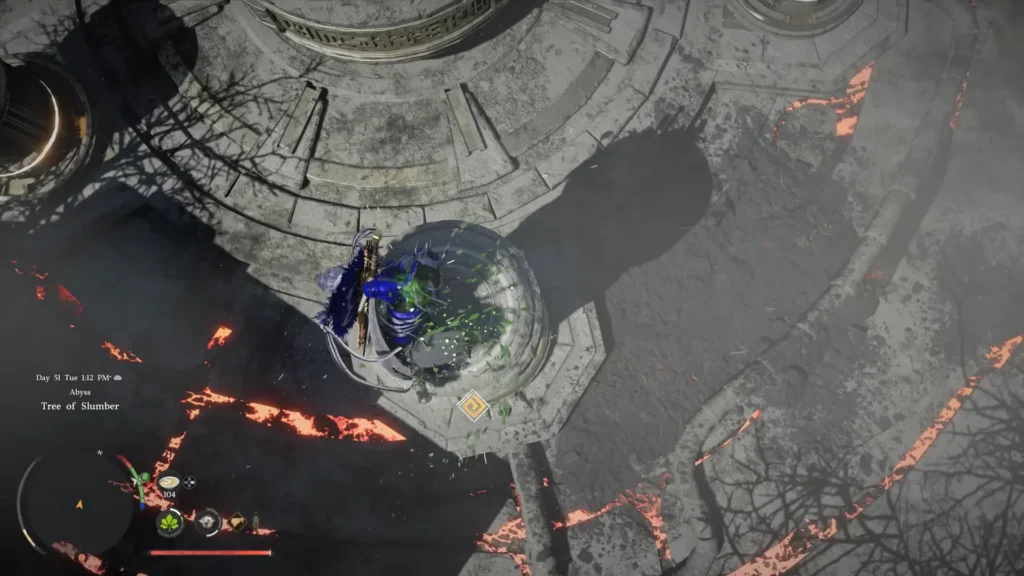
Image via Pearl Abyss and YouTube/@DanAllenGaming
If the mechanism feels awkward, there is another option. You can climb onto the pillars and use Force Palm to push them down one by one. This costs more Spirit, but it gives you direct control. It is slower, though often easier if the main method is not working for you.
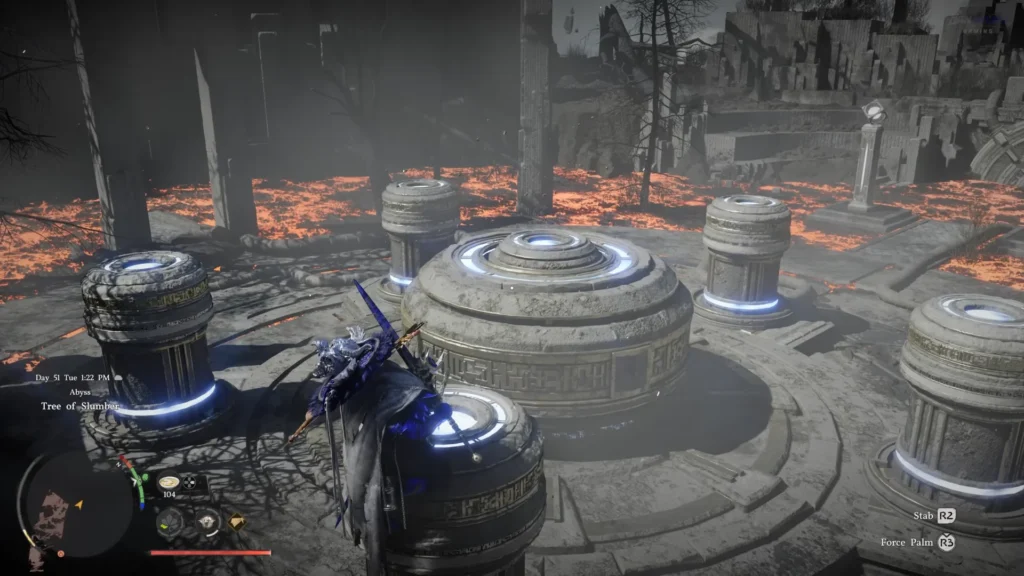
Image via Pearl Abyss and YouTube/@DanAllenGaming
Once all pillars match and glow blue, the puzzle completes. Look toward the far side of the room. A device activates above the lava, and that’s your final step.
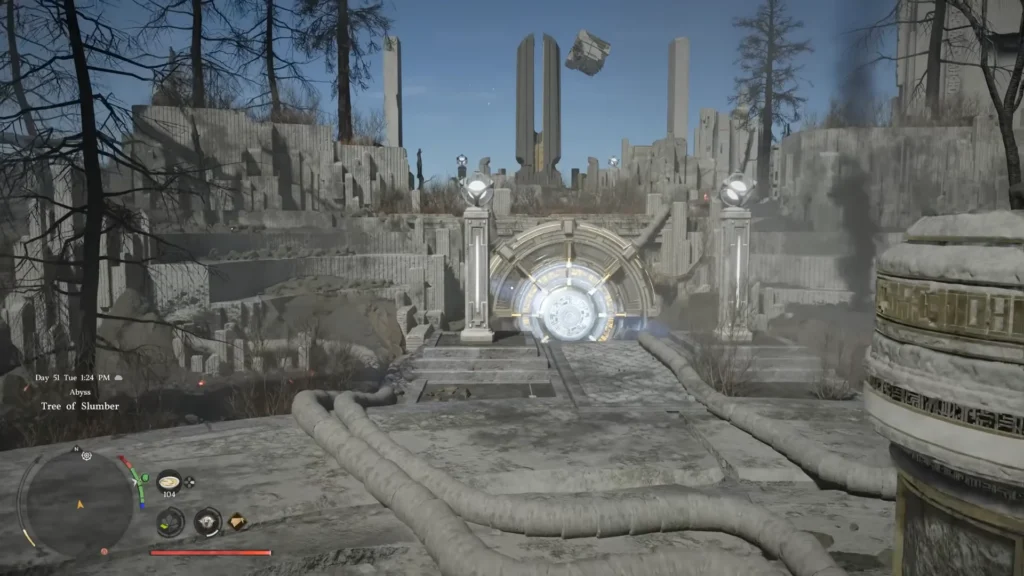
Image via Pearl Abyss and YouTube/@DanAllenGaming
Do not rush straight across. The lava drains your health quickly, so the safer option is to target the device from a distance with Axiom Force, then trigger it with Force Current. If you decide to move closer, glide in and interact immediately to limit the damage you take.
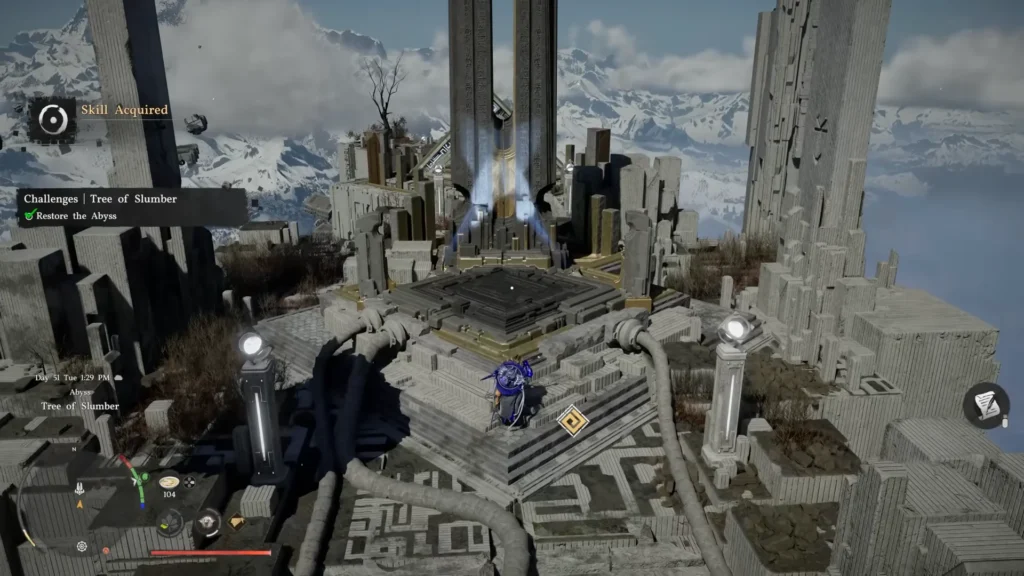
Image via Pearl Abyss and YouTube/@DanAllenGaming
After activating the device, the path opens. Climb up to the platform to collect your reward. Completing the Tree of Slumber Abyss puzzle gives you an Abyss Artifact and unlocks the Flame ability, which leads into Flame Strike and other elemental upgrades.
Editor Recommendation’s:
- Crimson Desert Dante the Great Thief Bounty Guide: Location, Fix & Rewards
- How to Solve the Root’s End Abyss Puzzle in Crimson Desert?
- Wolfe Bounty in Crimson Desert Walkthrough: Location, Unlock, and Rewards
- Crimson Desert Golden Apple Guide: How to Farm and Find It
- How to Get Alabaster Curved Sword in Crimson Desert
- How to Complete Strange Manor Quest in Crimson Desert (Transporter Guide)
FAQs