The Crimson Desert puzzle To the Nest is where the game finally stops holding your hand and expects you to think fast while moving even faster. This section throws you into the Abyss with multiple stacked mechanics and missing even one step can leave you stuck for a while.
If the skybridge isn’t activating it’s most often to do with power flow, orb alignment or missed cable repairs. This is the clean way to do it and move on, no confusion.
How to Complete Crimson Desert Toward the Nest Puzzle
Follow these steps to complete the Crimson Desert Toward the Nest Puzzle:
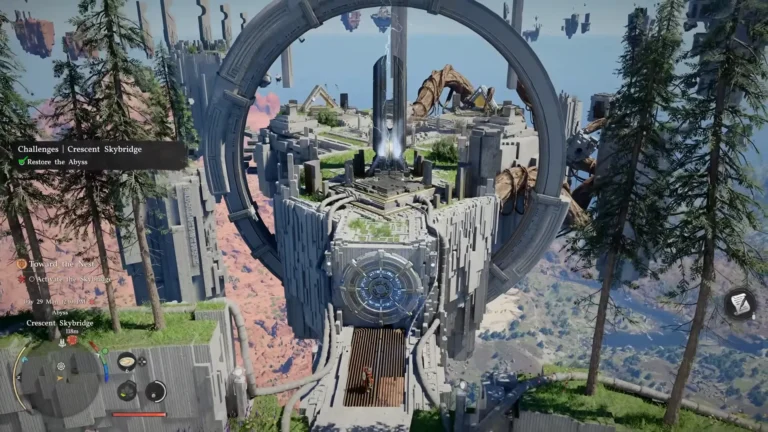
Reaching the Skybridge Area Quickly
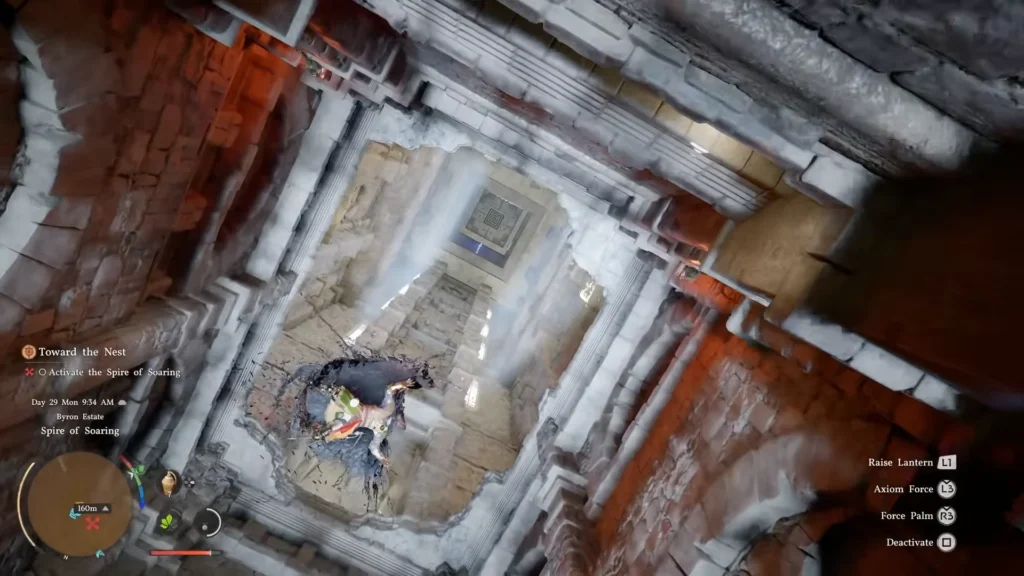
Image via YouTube/Dan Allen Gaming.
First you must finish the climb through the Spire before you can solve the main puzzle. This is the part that sets up everything.
This Spire of Soaring Walkthrough will show you how to reroute power properly.
- You go through the cave, ride up wind platforms, and solve two quick puzzles.
- Align the wall panels so that power is flowing from left to right before you start.
- Now rotate the circular device until all the lines are connected down.
- The elevator then takes you up to the sky. stay on it the whole time, because falling here wastes time, and resets progress.
- Immediately fire the checkpoint at the top. This saves you from having to climb all over again if you fall during the puzzle.
Align the Laser Orbs First
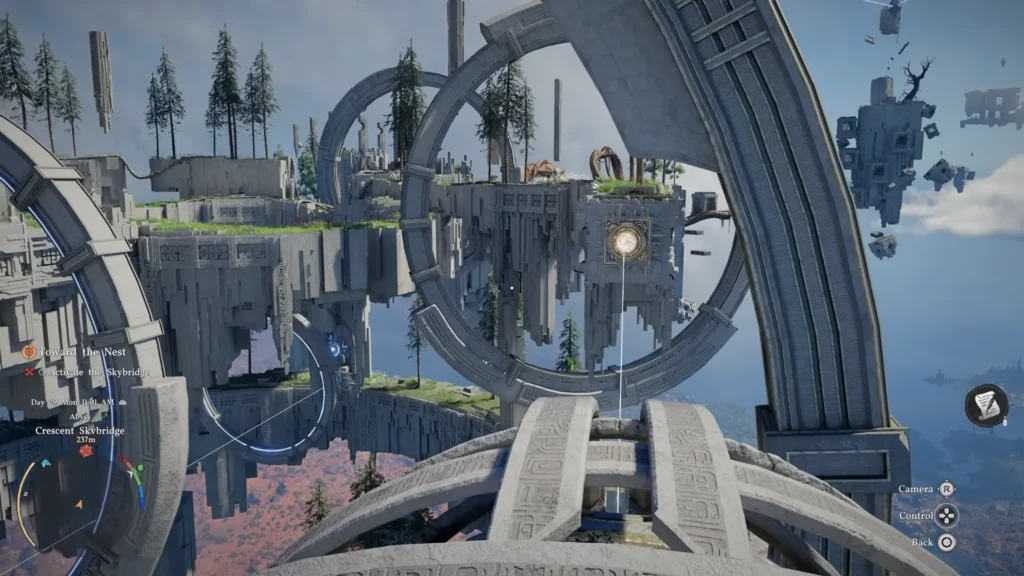
Image via YouTube/Dan Allen Gaming.
Most players make the first mistake when they get to the Crescent Skybridge: they go straight to the cables. That doesn’t work yet.
- Go up to the top ring to see a lot of laser orbs. One is already lined up, but the left and right ones aren’t.
- Use Axiom Force to grab each orb from behind and point the laser beam at the glowing blue crystals across the gap. The rings around the area start to glow and spin once both beams are connected correctly.
- This proves that you did the first part of the Crimson Desert Toward the Nest puzzle right.
Be careful how you move here. The purple and blue flowers drain health quickly, and falling resets the game.
Cross Over and Repair the Power Cables
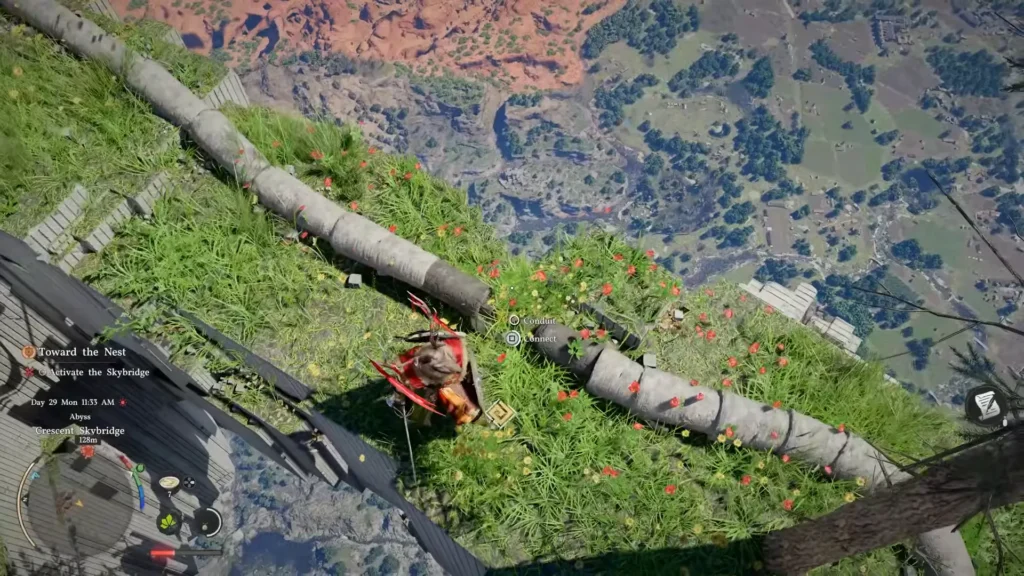
Image via YouTube/Dan Allen Gaming.
Now that the lasers are lined up, you need to go to the other side. The easiest way is to jump, do three Force Palm boosts in the air, and then glide across.
After you land, pay attention to the cables.
There are two broken connections that stop the flow of power:
- One is close to the main crystal.
- The second one is on the path to the right.
Look for pipe sections that aren’t connected by following the yellow cables. Talk to them to get the flow going again. The system starts up and moves on to the next step once both are fixed.
If nothing happens after you fix one cable, you missed the other one. This is the most common reason why players get stuck in Toward the Nest Crimson Desert.
Activate the Core Mechanism to Unlock the Path
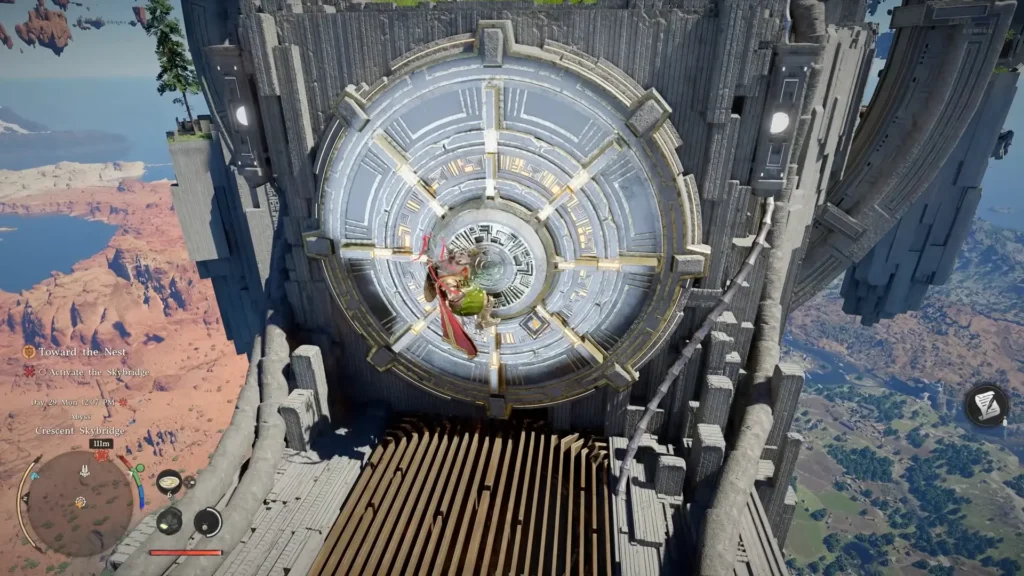
Image via YouTube/Dan Allen Gaming.
Now go to the big round building that lights up when the power comes back on.
- Get on top of it and hit the middle with Force Palm. This turns on the mechanism and clears the path ahead.
- From here, go through the barrier on the right.
- A pillar device will come up from the ground. Use Axiom Force to grab it and turn it slowly until it turns blue. Don’t hurry this part. There is a clear “sweet spot” where it locks in.
- The skybridge finally turns on when everything is in place.
This finishes the main goal of the Crimson Desert Toward the Nest sequence.
Moving Toward the Final Area
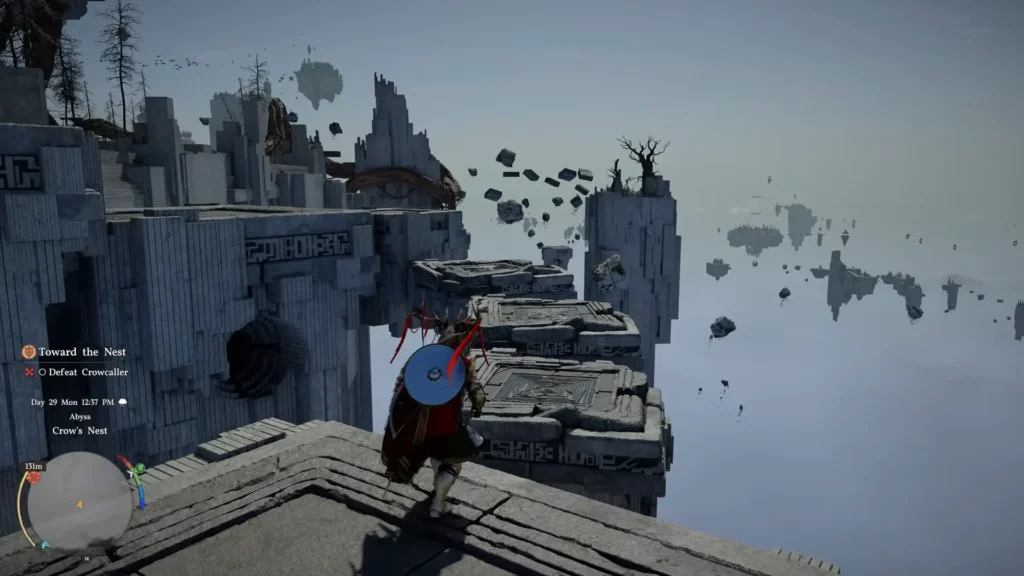
Image via YouTube/Dan Allen Gaming.
When the bridge is up, the way ahead is clear, but you still need to be careful as you move.
There are platforms ahead, and wind turbines help you go up. Use your cape at the right time to float between them. Keep the momentum going and don’t make too many changes in the air.
Before you go any further, turn on another checkpoint at the end of the path. This gets you ready for what’s next.
The last part leads right into a boss fight, so be ready before you go.
Editor Recommendation’s:
- How to Get Red Needle Katana in Crimson Desert (Weapon Guide)
- Crimson Desert Patch 1.01.03 Is What Everyone Wanted So Badly
- How to Solve the Precipice of Truth Abyss Puzzle in Crimson Desert
- What to Do with Unpackaged Trade Goods in Crimson Desert?
- How to Solve the Traces of Shadows Quest in Crimson Desert
- Crimson Desert Obsession and Madness Puzzle Guide