
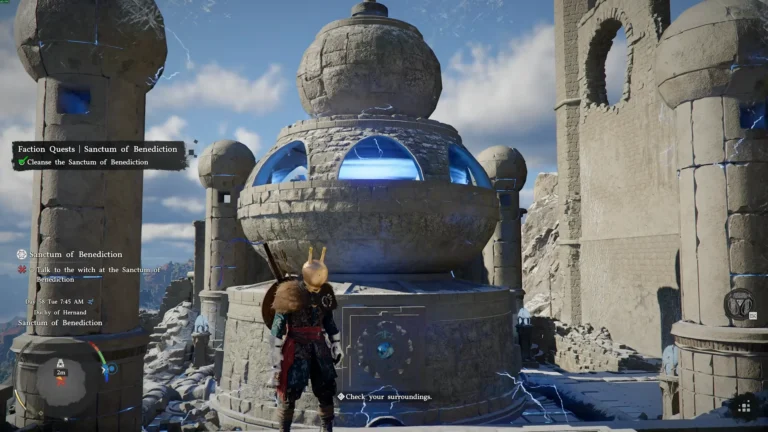
The Crimson Desert Sanctum of Benediction puzzle can look confusing when you first arrive, especially since one of the pieces doesn’t immediately seem to fit the central mechanism. But once you understand what the game expects, it becomes a quick and satisfying challenge.
In this guide, you’ll find a clear and direct Crimson Desert puzzle solution so you can complete the sanctum without unnecessary backtracking or confusion.
Sanctum of Benediction Crimson Desert Location and Requirements
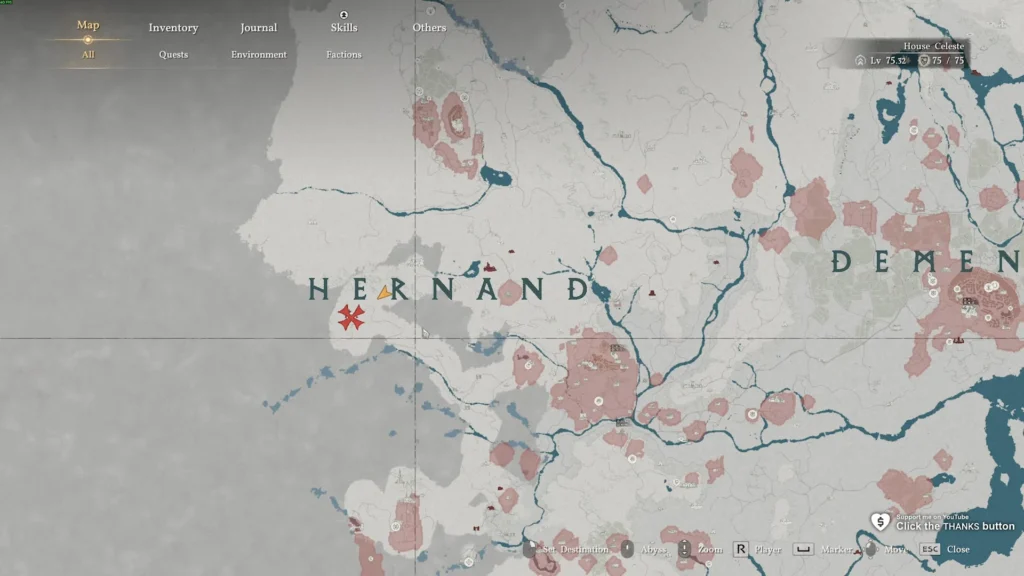
Image via YouTube/TroubleChute Basics.
The Sanctum of Benediction Crimson Desert is located far west of Hernand, tucked into the snowy mountains near the edge of the map. It’s not an area you’ll casually stumble upon, so expect a bit of travel and climbing to reach it.
Before you can solve the puzzle, you need to unlock access through the main story. Make sure you’ve started the Witch faction quest called “The Witch of Wisdom,” given by Elowen. Without this, you won’t be able to cleanse any sanctums.
You’ll also need Axiom Force, and having the Kuku Pot makes things much easier since you can store puzzle items instead of carrying them manually. Since the area is cold, bringing some ice resistance gear or consumables will help during combat.
Step 1: Liberate the Sanctum
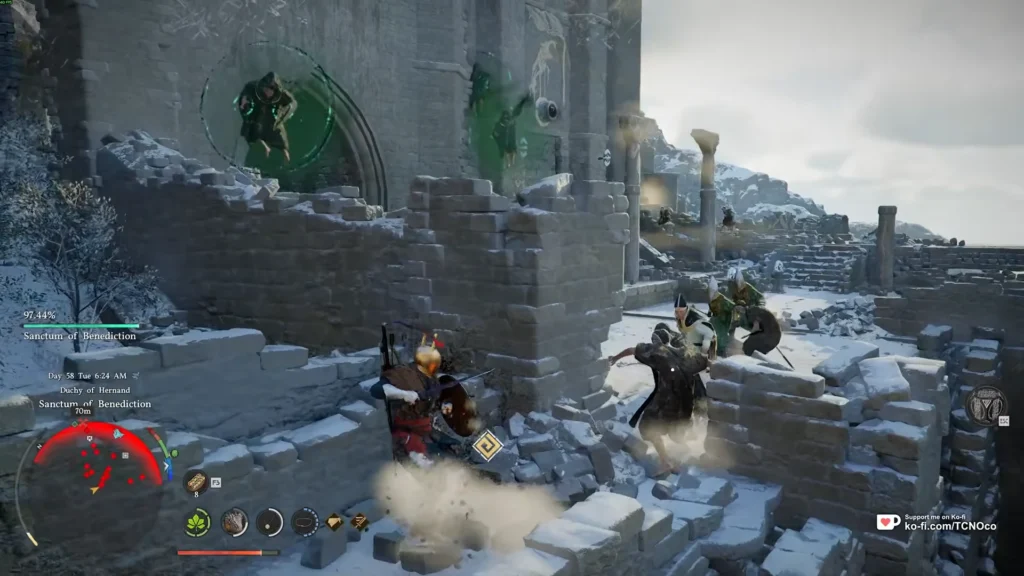
Image via YouTube/TroubleChute Basics.
Before attempting the Crimson Desert Sanctum of Benediction, you must clear the area of enemies. The sanctum is filled with Antumbra enemies, and most of them are positioned around the upper ruins near the central device.
Your goal is to reduce the enemy presence meter from 100% to 0%. Once that’s done, the sanctum is considered liberated, and you can safely begin solving the puzzle.
Step 2: Find the Battery Cube
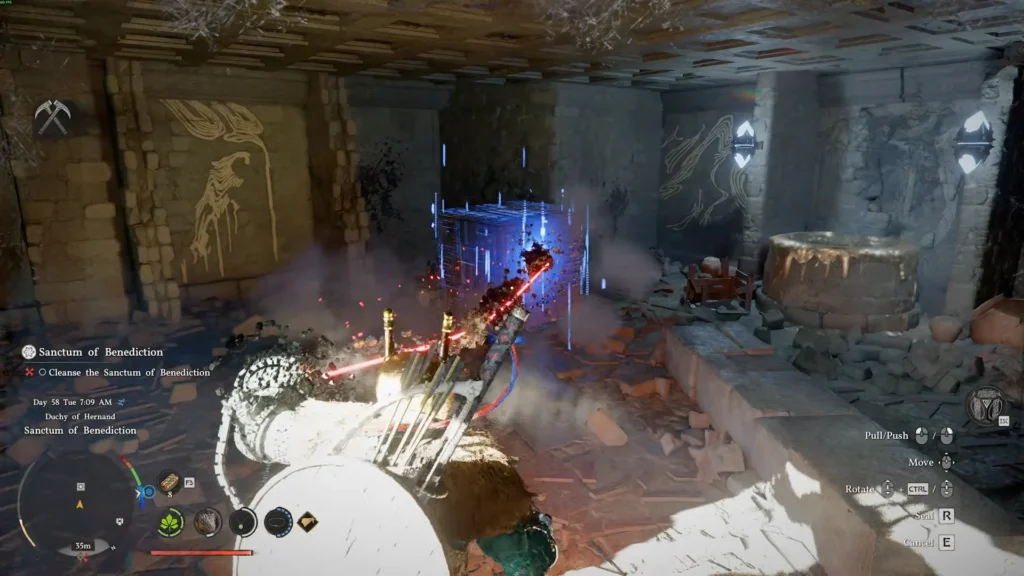
Image via YouTube/TroubleChute Basics.
Start at the central structure and head down the stairs. At the bottom, look for a room on the right side. Inside, you’ll find a floating cube which is one of the key components of this Crimson Desert puzzle solution.
Use Axiom Force to grab the cube. You can either carry it back manually or store it in your Kuku Pot and place it later near the device.
Bring the cube back to the central mechanism and position it in the square slot. When it’s aligned correctly, you’ll notice visual cues like green leaves. Use Force Palm to push it into place.
Step 3: Unlock the Sealed Room and Get the Pillar Piece
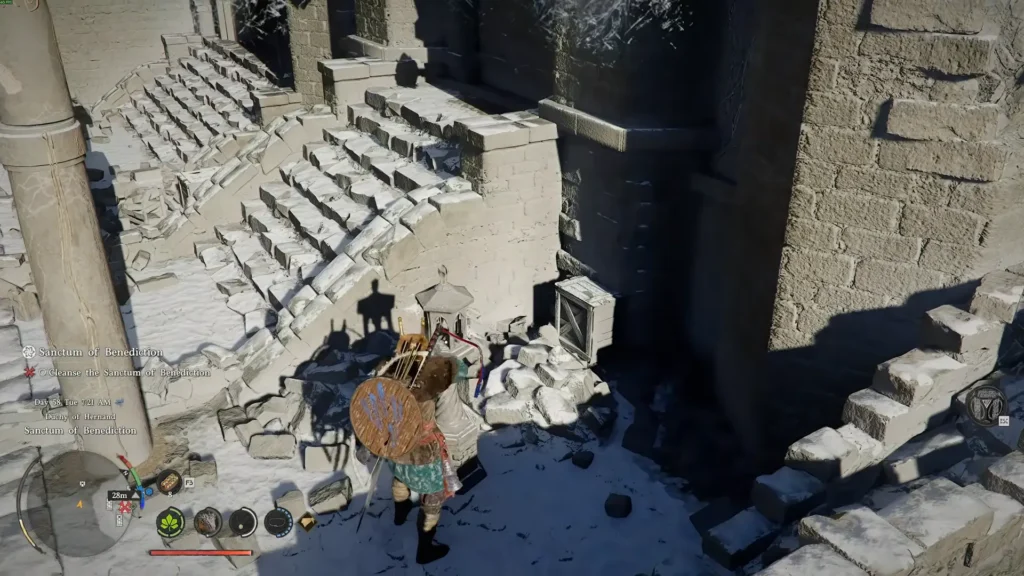
Image via YouTube/TroubleChute Basics.
Next, you need the second component. Move to the opposite side of the structure where you’ll find a sealed door. There’s a lantern next to it that you need to light to open the entrance.
Inside the room, you’ll find the missing pillar piece. You can also grab a chest here containing the Leather Helm of the Fallen Kingdom, which gives a strong damage boost.
Use Axiom Force to take the pillar piece outside. If you’re using the Kuku Pot, you can store and redeploy it near the puzzle instead of dragging it through the doorway.
Step 4: Place the Pillar Piece
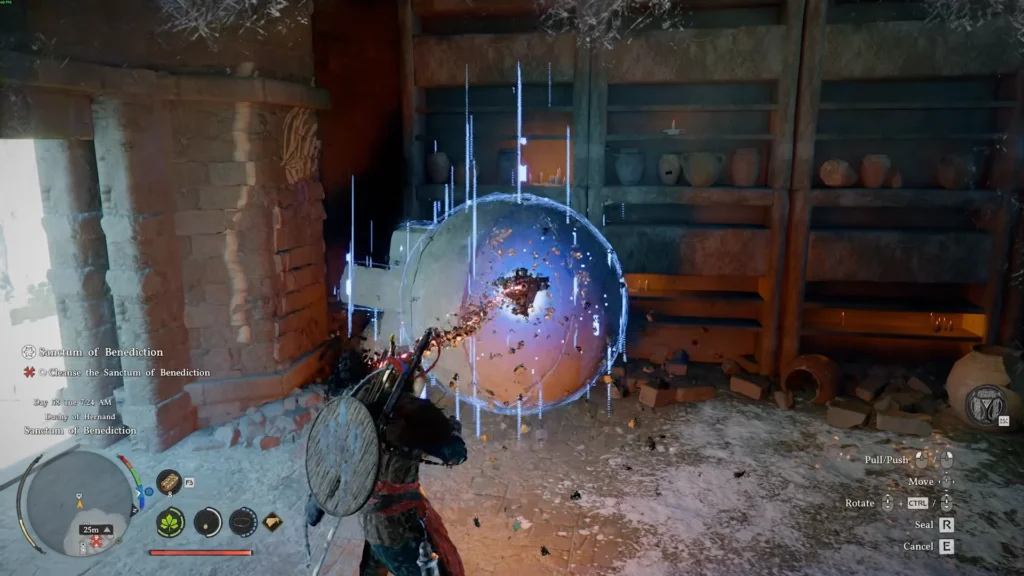
Image via YouTube/TroubleChute Basics.
Take the pillar piece to the broken column near the central device, usually on the back-left or northeast side depending on your orientation.
Carefully position it above the column. When it’s aligned correctly, green leaves will appear, indicating it’s in the right spot. This is a key part of the Sanctum of Benediction solution, so don’t rush the placement.
Once positioned, climb on top of the piece and perform a downward Force Palm. This locks it into place and restores part of the structure.
Step 5: Activate the Device
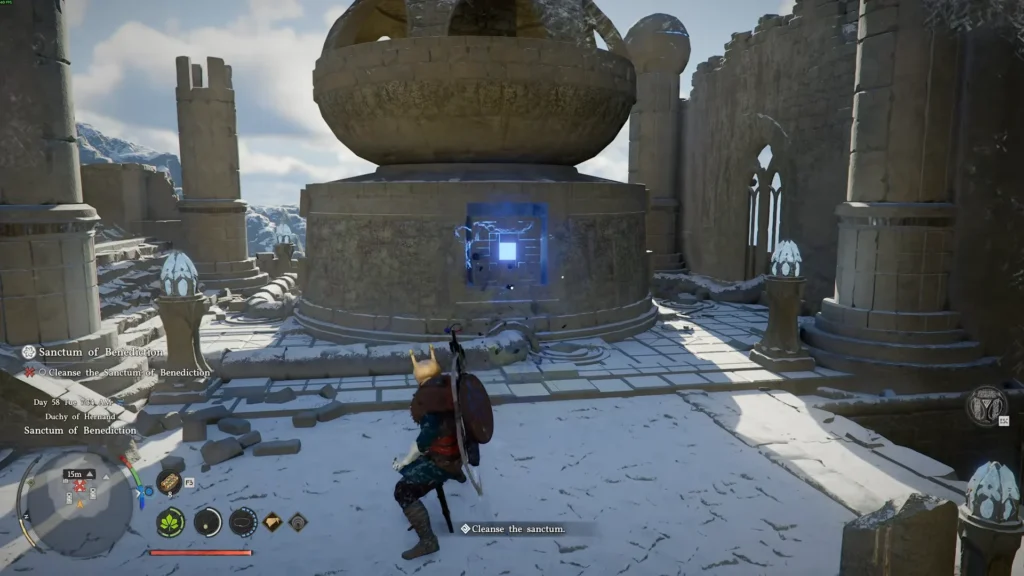
Image via YouTube/TroubleChute Basics.
After placing both the cube and the pillar piece, the central device will activate. This completes the main Sanctum of Benediction Crimson Desert puzzle and cleanses the area.
At this point, you’ll see the mechanism come to life, confirming that everything has been placed correctly.
Optional Step: Solve the Light Puzzle for the Core
After activation, you can interact with the device again to obtain the Core of Benediction. This involves a timing-based light puzzle.
Use Blinding Flash to shine light at the central crystal. As the ring rotates, aim your flashes at the small glowing gems while avoiding empty gaps. Timing is important here since there’s a slight delay between input and activation.
Once completed, the machine releases the core, which you can collect using Axiom Force. This item is used later for crafting with Kuku blueprints.
Final Rewards and Tips
Completing the Crimson Desert Sanctum of Benediction gives you progression toward the Witch questline and unlocks useful rewards like the Kuku Marni Laser Helm blueprint. You can also pick up the Leather Helm of the Fallen Kingdom from the hidden chest.
If you’re struggling at any step, remember to look for visual cues like green leaves for placement. Using the Kuku Pot can also save time when moving objects.
Overall, this Crimson Desert puzzle solution is more about understanding placement and order rather than difficulty. Once you know where each piece goes, the entire process becomes quick and straightforward.
Editor Recommendation’s:
- How to Solve the Precipice of Truth Abyss Puzzle in Crimson Desert
- What to Do with Unpackaged Trade Goods in Crimson Desert?
- How to Solve the Traces of Shadows Quest in Crimson Desert
- Crimson Desert Toward the Nest Puzzle Guide: How to Activate the Skybridge
- Crimson Desert Patch 1.02.00 Overhauls Inventory and Improves Core Systems
- Crimson Desert Hound Sword Location and Boss Guide
FAQs