
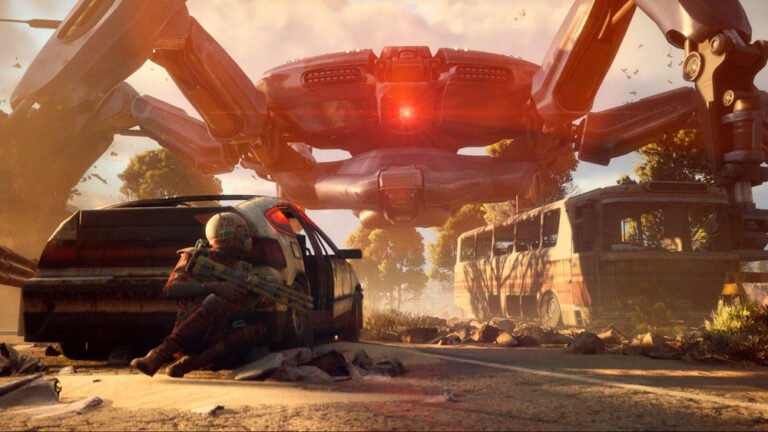
If you’ve stepped into the Shrouded Sky update, you know the Hurricane isn’t just a weather hazard, it’s a gold mine. As an experienced Raider who has spent dozens of hours sprinting through the gale-force winds of the Dam, I can tell you: the First Wave Caches are the single best way to gear up right now.
These aren’t your run-of-the-mill loot boxes. These are chunky, silver-brown “relic” suitcases that hold the keys to the kingdom—specifically rare blueprints like the Tempest, Bobcat, and Vulcano that used to be locked behind the game’s most grueling map conditions. The drop rates are currently “broken” in the best way possible, with roughly 60% of caches yielding a blueprint. If you aren’t farming these, you’re falling behind.
Editor’s Recommendations:
- Borderlands 4 Pearlescent Guide: How to Farm Every Cyan Weapon
- How to get Copper Ingots in Windrose (Complete Guide)
First Wave Cache Overview
| Feature | Details | Pro Tip |
| Spawn Condition | Active Hurricane condition only. | Use Event Timers to track rotations. |
| Locations | All maps EXCEPT Stella Montis. | Dam Battlegrounds has the highest density. |
| Visual Cues | Larger than Raider Caches; Red Signal HUD icon <20m. | Look for partially buried “relic” suitcases. |
| Audio Cues | Rhythmic electric hum/ticking (distinct from regular caches). | Turn on Night Mode in Audio Settings. |
| Top Tier Loot | Tempest, Bobcat, Vulcano Blueprints; Vitashots; Anvil 4. | Safe Pocket your blueprints immediately! |
| Current Meta | The “Naked Run” (Zero gear, just Adrenaline). | Surrender immediately after pocketing a blueprint. |
Where the Loot Hides: Map Hotspots
While First Wave Caches use the same spawn pool as regular Raider Caches, they are sparser, appearing at roughly 1 in every 5 to 10 potential markers. Don’t waste your time wandering aimlessly; hit these high-density zones:
- Dam Battlegrounds: This is the king of farming. The Testing Annex and the Controlled Access Zone (look for the Rocketeer Chandelier building) are absolute hotspots. The open terrain allows you to move between markers at breakneck speed.
- Blue Gate: A community favorite for a reason. The Olive Grove and Raider’s Refuge (near the ruined church) frequently yield multiple caches in a single run.
- Buried City: High density but vertical. Check the Town Hall Plaza and the dried-out fountain at Marano Park.
Identifying Caches: Use Your Ears
In a Hurricane, visibility is trash. You need to rely on your headset. Unlike the standard mechanical ticking of regular loot, First Wave Caches emit a rhythmic electric hum.
The Audio Hack: Go to your settings and toggle Night Mode. This compresses the audio, making the wind noise quieter and the “electric” signature of the cache pop. When you’re within 50 meters, stop moving. If you hear that pulsing tone, follow it until the Red Signal Icon appears on your HUD.
Stop bringing your best gear into the storm. It’s a liability. The current pro strategy is the Naked Run:
- Deploy Empty: Take nothing but Adrenaline Shots. You still have your Safe Pocket.
- Sprint & Listen: Head to the nearest cluster. If you find a Tempest or Bobcat blueprint, shove it in your Safe Pocket.
- Surrender: Don’t run for extraction. Open the menu and hit Surrender. You keep everything in your Safe Pocket and bypass the 15-minute extraction stress.
- Repeat: You can finish a “run” in under 5 minutes. Using this method, I’ve pulled over 500k credits worth of value in a single hour.
Raider Note: If you spawn into a raid that’s already been active for 10+ minutes, the caches are likely gone. Surrender immediately and re-queue for a fresh instance.
Editor’s Recommendations:
- The Absolute Best Skills to Unlock First in Nioh 3
- Starsand Island: All Current Codes and Reward Redemption Guide (March 2026)
FAQs
Q: I’m hearing the sound, but I can’t see the cache. Am I bugged?
A: Not bugged, just buried! First Wave Caches are “unearthed” by the wind, meaning they can be partially covered by sand or debris. Look for a brownish metallic edge sticking out of the ground. If you’re within 20m, the red icon on your HUD will guide you to the exact pixel.
Q: Should I bother with the weapons inside if I’m doing Naked Runs?
A: Only if you plan to extract. Since you can’t put a Renegade 4 in your Safe Pocket, it’s lost if you surrender. However, if you find a high-tier weapon early, use it to defend yourself while hunting for that elusive Tempest blueprint.
Q: Does the wind direction actually matter?
A: 100%. Running against the wind drains your stamina and slows you to a crawl. Always plan your route to move with the wind or at an angle. If the wind is blowing away from the cache clusters, it might be worth a reset.
Q: Are the new ARC enemies (Comet/Firefly) a threat during these runs?
A: They are deadly. If you’re running naked, do not engage. Use the reduced visibility of the Hurricane to your advantage. If you see your shield sparking from debris, turn it off—it makes you a glowing target for every ARC (and player) in the vicinity.