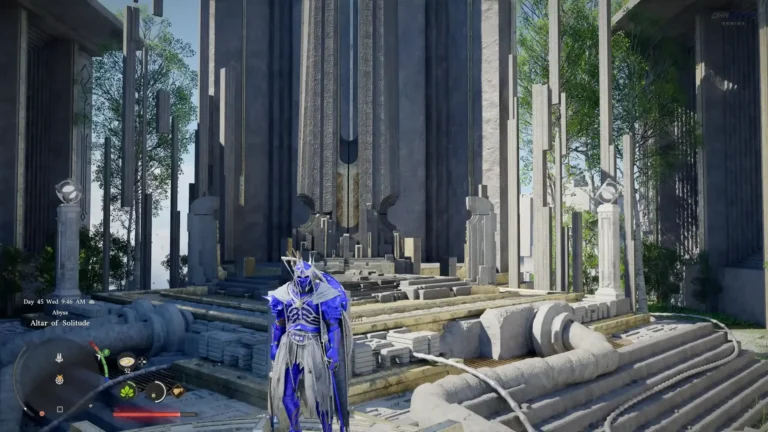
If you’ve made your way into the Abyss and reached this point, the Altar of Solitude Crimson Desert puzzle can feel overwhelming at first. There are rotating platforms, hidden panels, and multiple layers to manage, which makes it easy to lose track of what you’re doing.
The good news is that once you understand the logic behind moving panels and controlling the cube, everything starts to click. This Crimson Desert Altar of Solitude Abyss puzzle guide walks you through the entire process in a clean, simple way so you can finish it without frustration.
Where Is the Altar of Solitude Located?
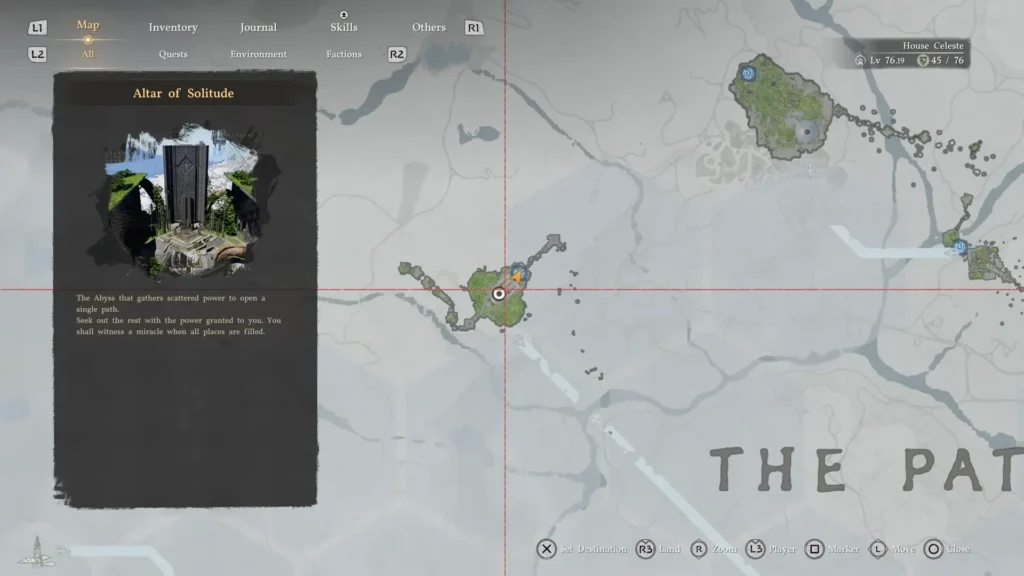
Image via YouTube/Dan Allen Gaming.
Before you even begin solving the puzzle, you need to reach it. The Altar of Solitude is part of the Abyss challenge chain, which comes after completing several key areas like the Secret Garden, Vault of Vengeance, and Courtyard of Precision.
To access it, you’ll cross a Skybridge that leads directly to the puzzle area. Be careful here because some platforms collapse if you stand on them too long . Once you activate the Abyss Nexus, the puzzle begins.
Altar of Solitude Abyss Puzzle Solution (Step-by-Step)
Here’s the complete Altar of Solitude Abyss puzzle solution explained in a way that actually makes sense while playing.
Step 1: Ignore the Cube First
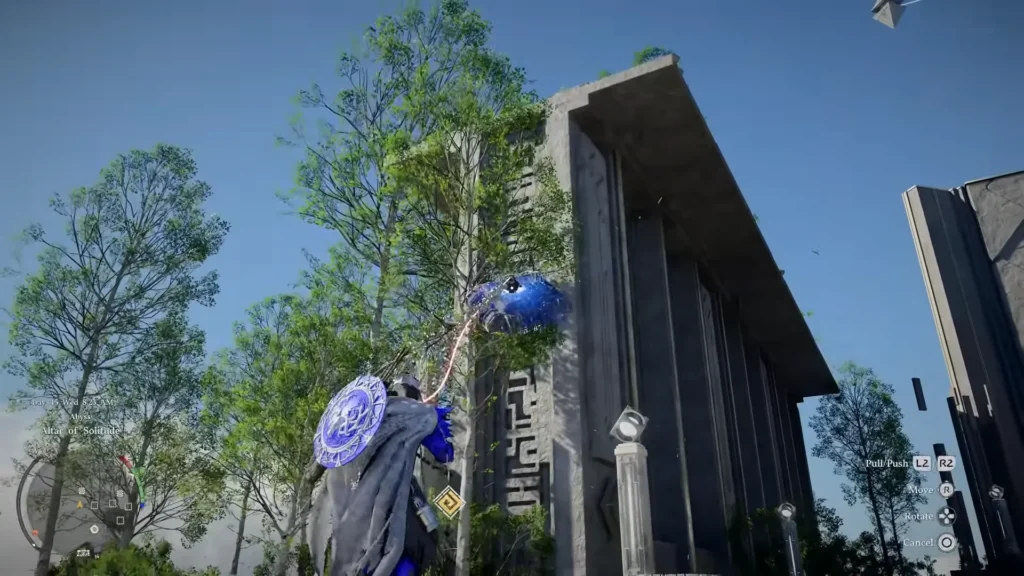
Image via YouTube/Dan Allen Gaming.
Start by grabbing the flat panel on the left side. Place it into one of the nearby slots and use Force Palm to lock it in. Repeat the same process with the second panel. This powers up the initial mechanism.
Step 2: Rotate the Platform Using the Cube
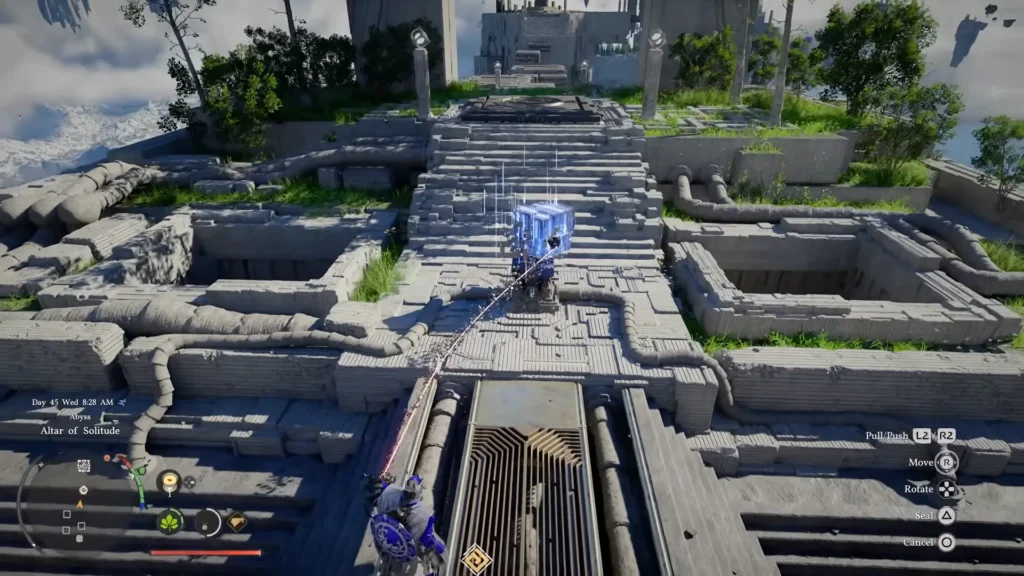
Image via YouTube/Dan Allen Gaming.
Now pick up the cube and place it into the pedestal. This activates the rotating platform. As soon as it starts turning, jump into the opening before it closes so you can reach the lower level.
Step 3: Find and Extract the Hidden Panel
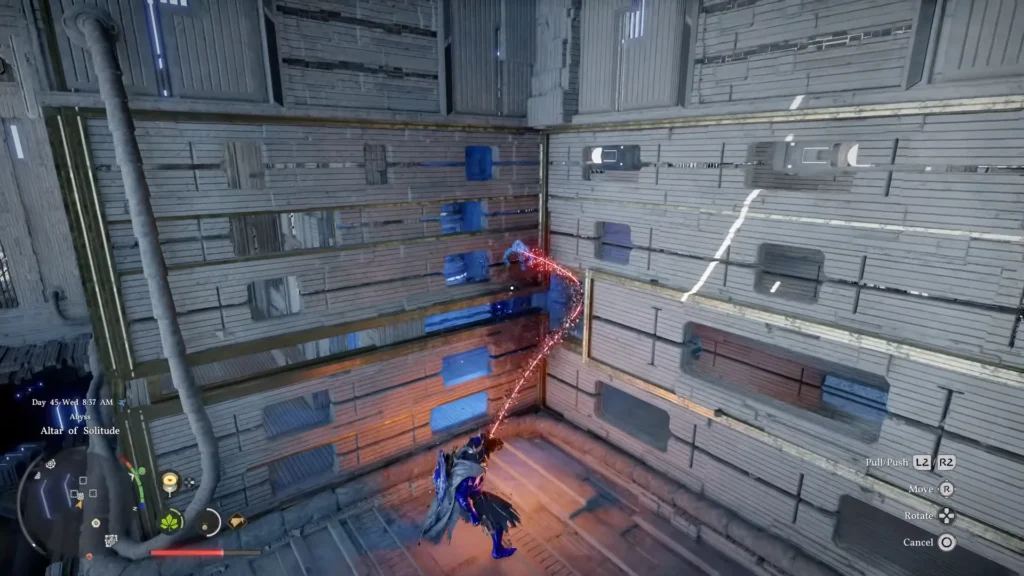
Image via YouTube/Dan Allen Gaming.
Once you’re underground, look for a panel hidden behind a narrow gap in the wall. You’ll need to rotate it carefully and “wiggle” it through the opening. It might take a few tries, but it will fit.
After pulling it through, position it near the ceiling. This step is important because it lets you retrieve it later from above.
Step 4: Reset the Mechanism
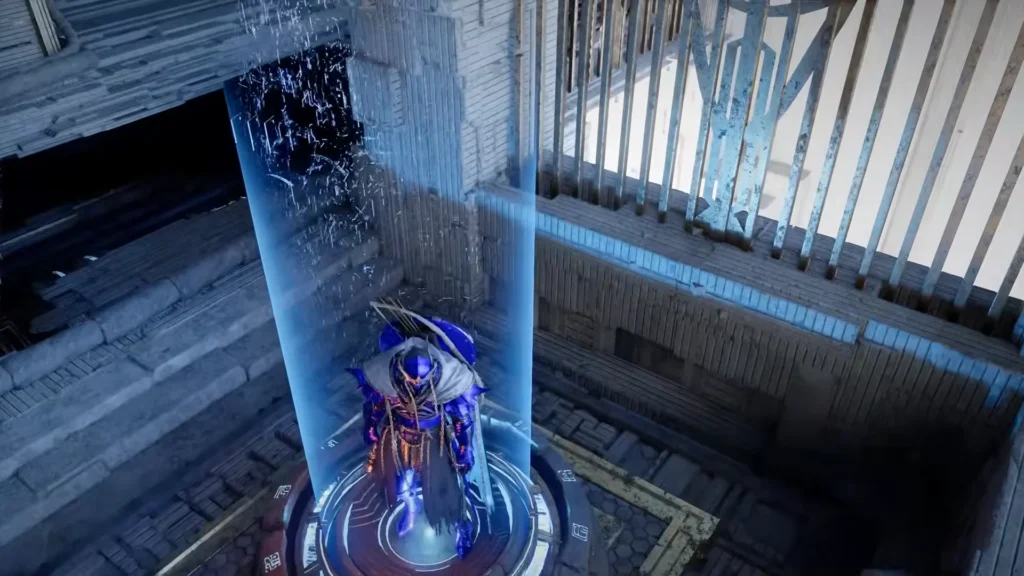
Image via YouTube/Dan Allen Gaming.
Use the teleporter to go back to the surface.
Remove the cube from the pedestal to rotate the structure back to its original position. This will bring the panel you just placed near the ceiling up to you.
Step 5: Open the Right Side Path
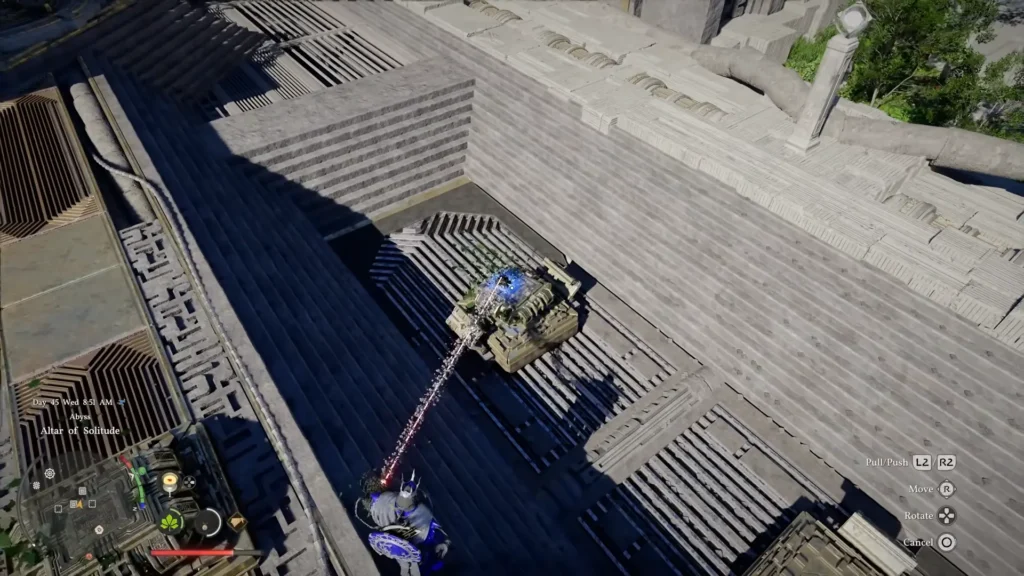
Image via YouTube/Dan Allen Gaming.
Take the panel you just retrieved and place it in the center slot. This unlocks the right side of the puzzle.
Now move the two panels from the left side over to the right slots. When pulling them out, use the rotation control instead of a direct pull for smoother removal .
Step 6: Power the Right Side
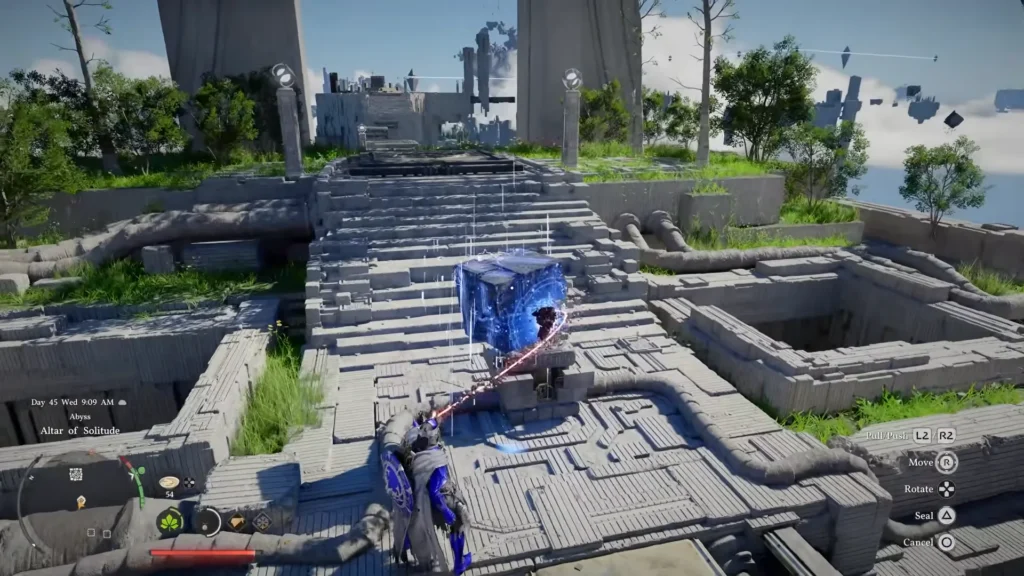
Image via YouTube/Dan Allen Gaming.
Once both panels are placed on the right, use Force Palm to secure them. Put the cube back on the pedestal to activate the mechanism again, then drop down into the newly opened section.
Step 7: Retrieve the Final Panel
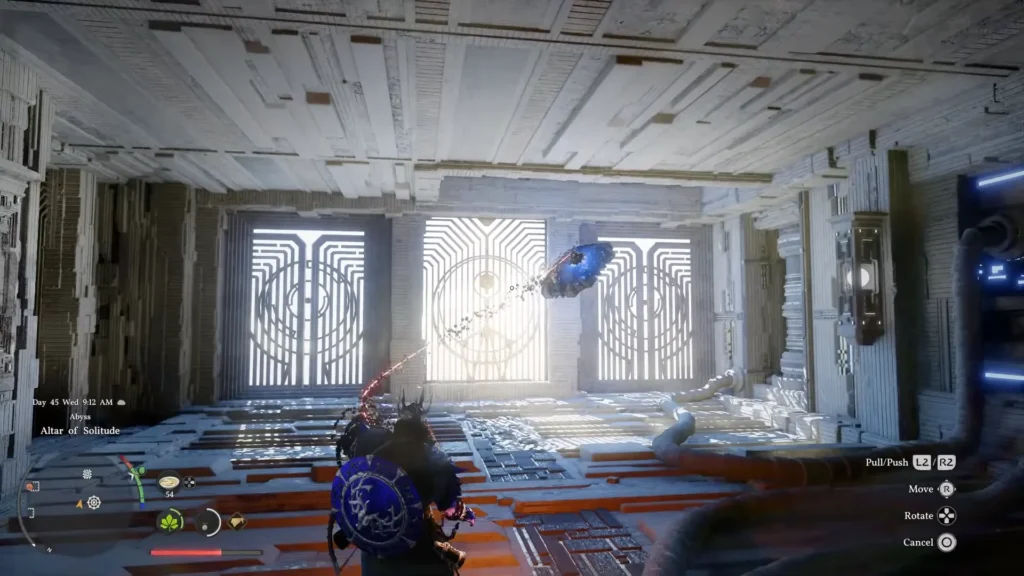
Image via YouTube/Dan Allen Gaming.
Inside the new area, grab the last panel. Just like before, move it through the gap, rotate it properly, and position it near the ceiling so it can be lifted to the surface.
Step 8: Bring Everything Together
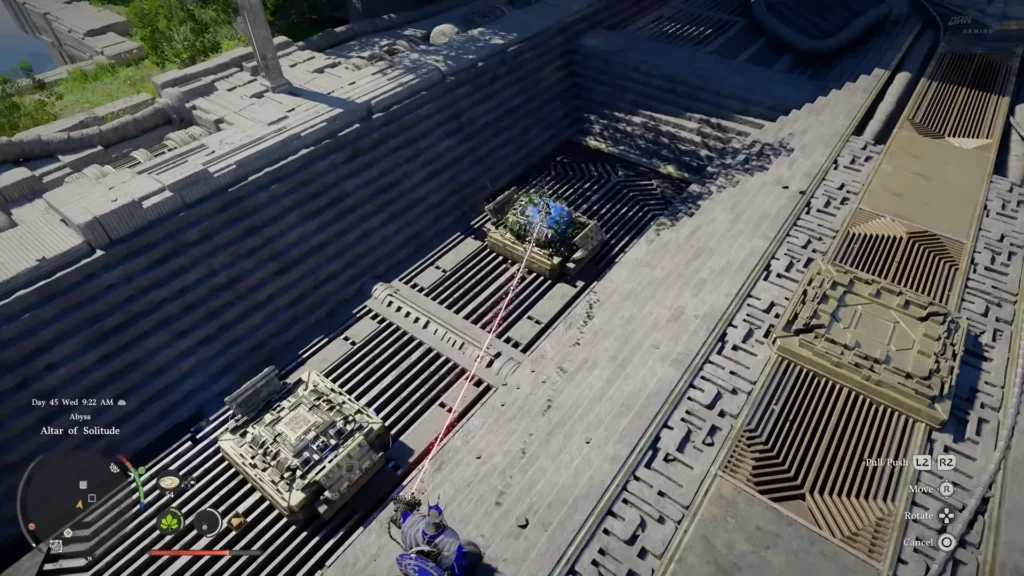
Image via YouTube/Dan Allen Gaming.
Return to the top using the teleporter and remove the cube again. This flips the structure back and brings the final panel up.
Now you should have all four panels on the surface. Place two panels on the left slots and two on the right slots. Make sure each one is properly aligned and locked in place.
Step 9: Complete the Puzzle
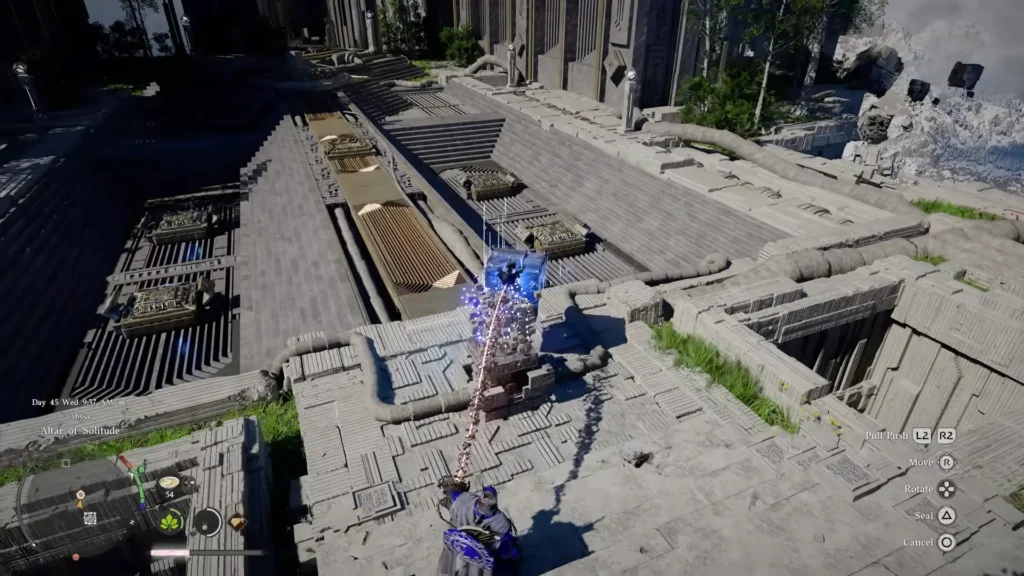
Image via YouTube/Dan Allen Gaming.
With all four panels powered, place the cube back into the pedestal one final time. This activates the main switch.
Use Force Palm on the switch to finish the puzzle and claim your reward.
Rewards for Completing the Puzzle
Once you complete the Altar of Solitude Crimson Desert challenge, you’ll receive an Abyss Artifact as your main reward.
There are also a couple of hidden chests nearby if you explore the area, offering some extra materials and loot.
Editor Recommendation’s:
- Crimson Desert Ice Cradle Abyss Guide: How to Solve the Puzzle
- How to Enter Lioncrest Manor in Crimson Desert (Strongbox Puzzle Guide)
- How to unlock Fated Shadow Sword in Crimson Desert
- How to Complete the Duskwood Hill Ruins Puzzle in Crimson Desert
- Crimson Desert Contradiction Quest Guide: All Weight of Knowledge Answers
- Crimson Desert Sanctum of Penitence Puzzle Solution
- How to Complete Young Monk’s Request Quest in Crimson Desert
FAQs